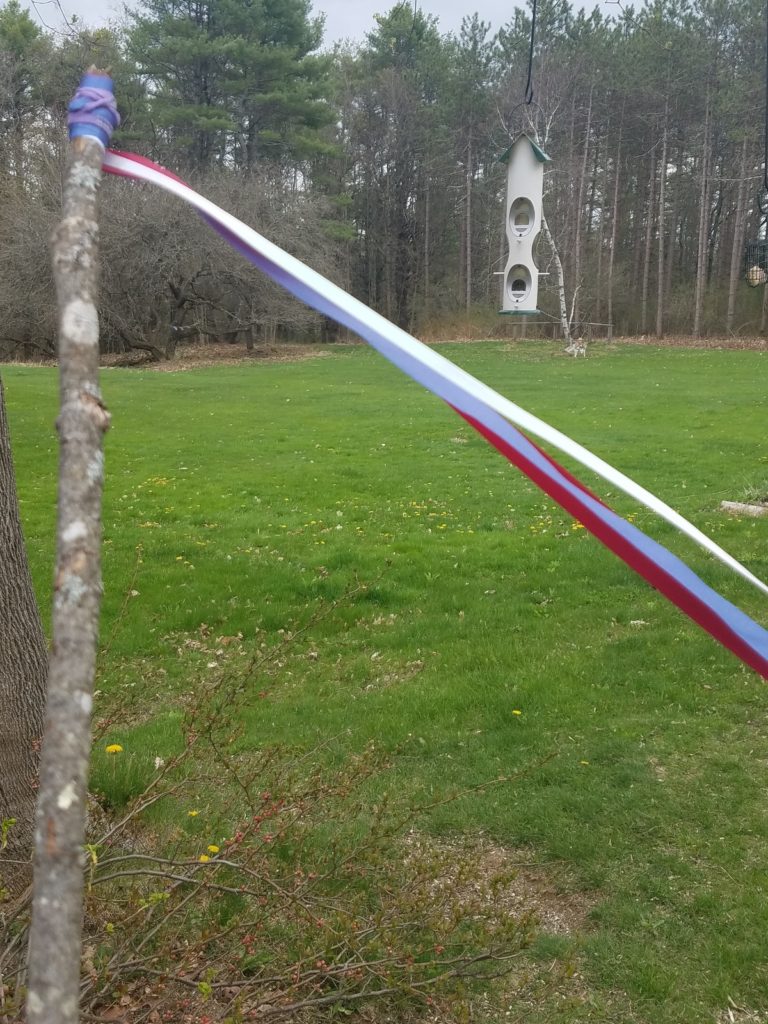
Let’s Dance! These DIY Wind Streamers are a fun art project, and they’ll help inspire curiosity and movement while they learn basic earth science lessons.
Source:
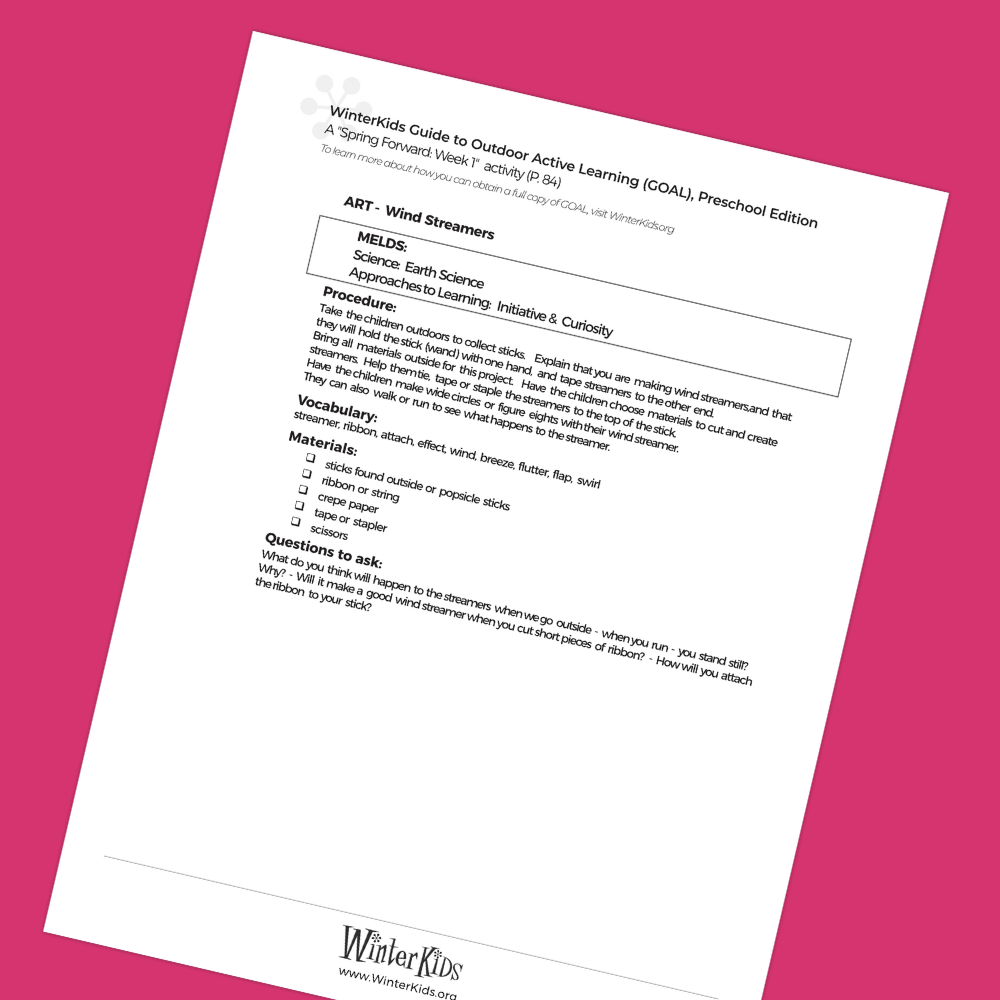
WinterKids Guide to Outdoor Active Learning (GOAL), Preschool Edition
A “Spring Forward: Week 1” activity (P. 84)
MELDS:
Science: Earth Science
Approaches to Learning: Initiative & Curiosity
Procedure:
Take the children outdoors to collect sticks. Explain that you are making wind streamers and that they will hold the stick (wand) with one hand, and tape streamers to the other end.
Bring all materials outside for this project. Have the children choose materials to cut and create streamers. Help them tie, tape, or staple the streamers to the top of the stick. See below for more detailed instructions.
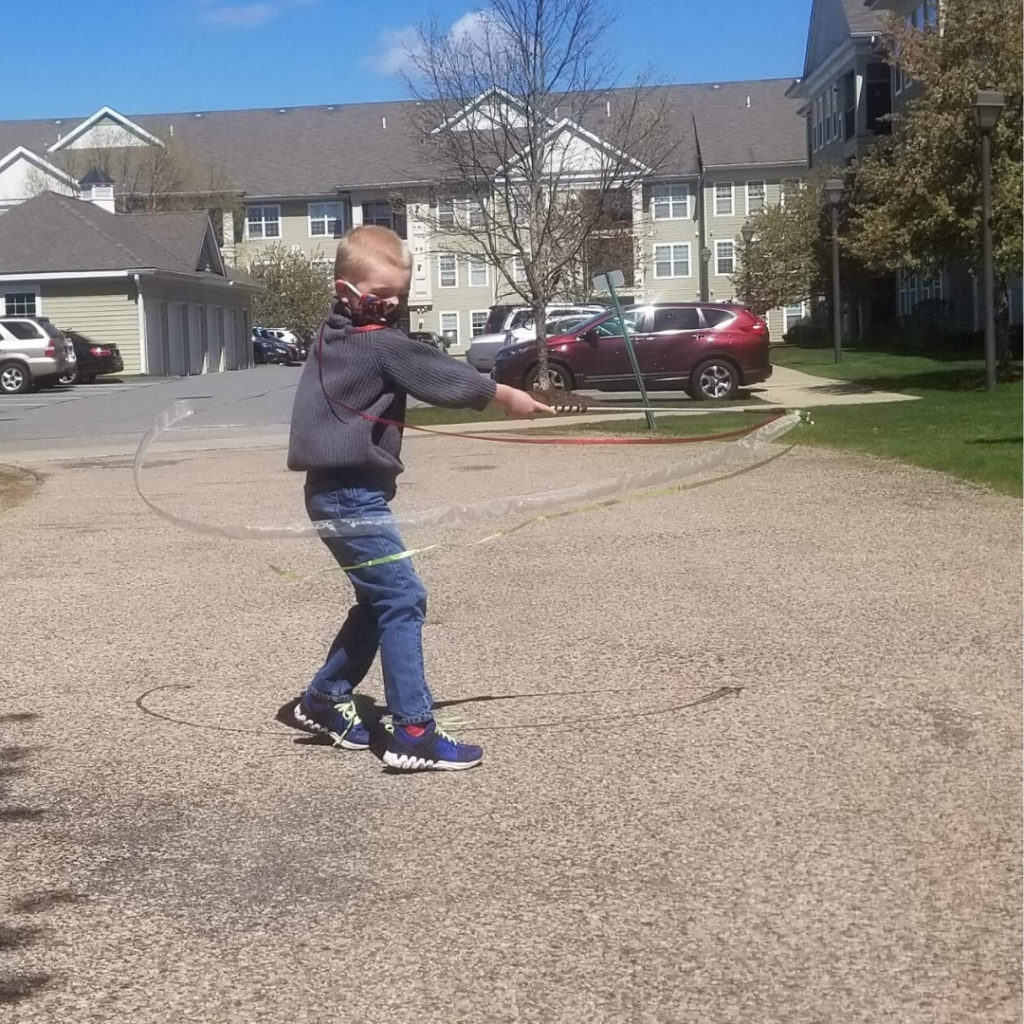
Have the children make wide circles or figure eights with their wind streamer. They can also walk or run to see what happens to the streamer.
Vocabulary:
streamer, ribbon, attach, effect, wind, breeze, flutter, flap, swirl
Questions to ask:
What do you think will happen to the streamers when we go outside – when you run – you stand still? Why? – Will it make a good wind streamer when you cut short pieces of ribbon? – How will you attach the ribbon to your stick?
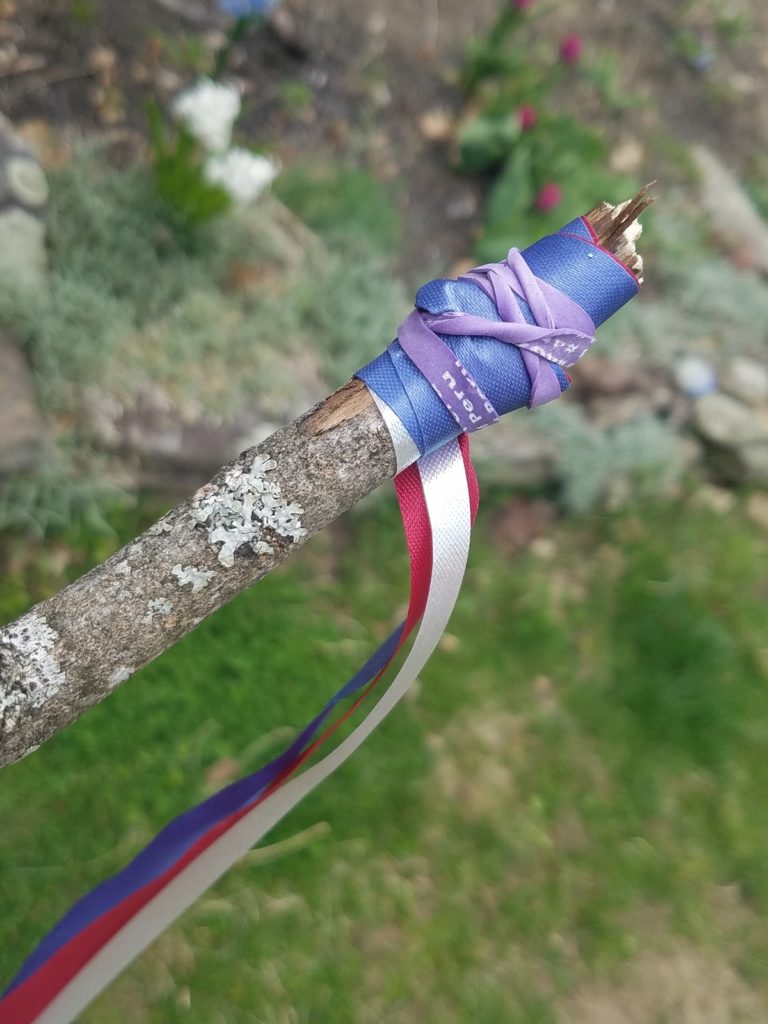
Before going outside, cut 1 to 4 lengths of ribbon, yarn, or crepe paper streamers in 6 to 10 feet long strips (longer is better-you can always trim them if they are too long). These will become the streamers.
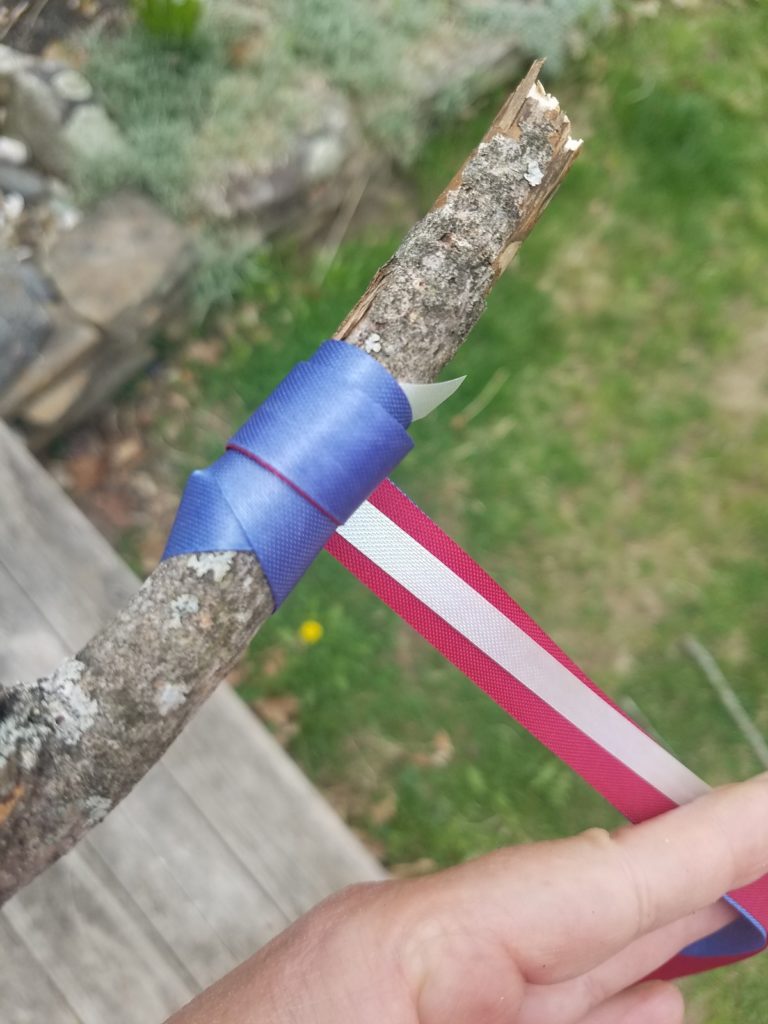
Your child will attach the ribbon to one end of the stick. This can be done in a number of different ways:
a) Tie one end securely to the end of the stick
b) Use a strong rubber band or string wrapped around ribbon on the end of the stick
c) Use hot glue (with an adult’s help, of course)
Bring ribbon and means to attach the ribbon to the wand outdoors.
Gather up a stick or two. I would aim for a stick with ½ to ¾ inch diameter, and about 2 feet long. This will be the wand your child holds, so when selecting a stick, think in terms of what size stick he or she can comfortably hold.
Secure the streamers to the stick, then ask your child to make large circles with the wind streamer. Have him or her run around trialing the streamers behind. Better yet, play some music and dance-watch what happens to the streamers when doing twirling and spinning dance moves.
This activity is extra fun on a breezy day. Have fun!
Free Printable
Download and print this activity plan, then go have some fun!